How to Repair a Sleeping Bag Rip
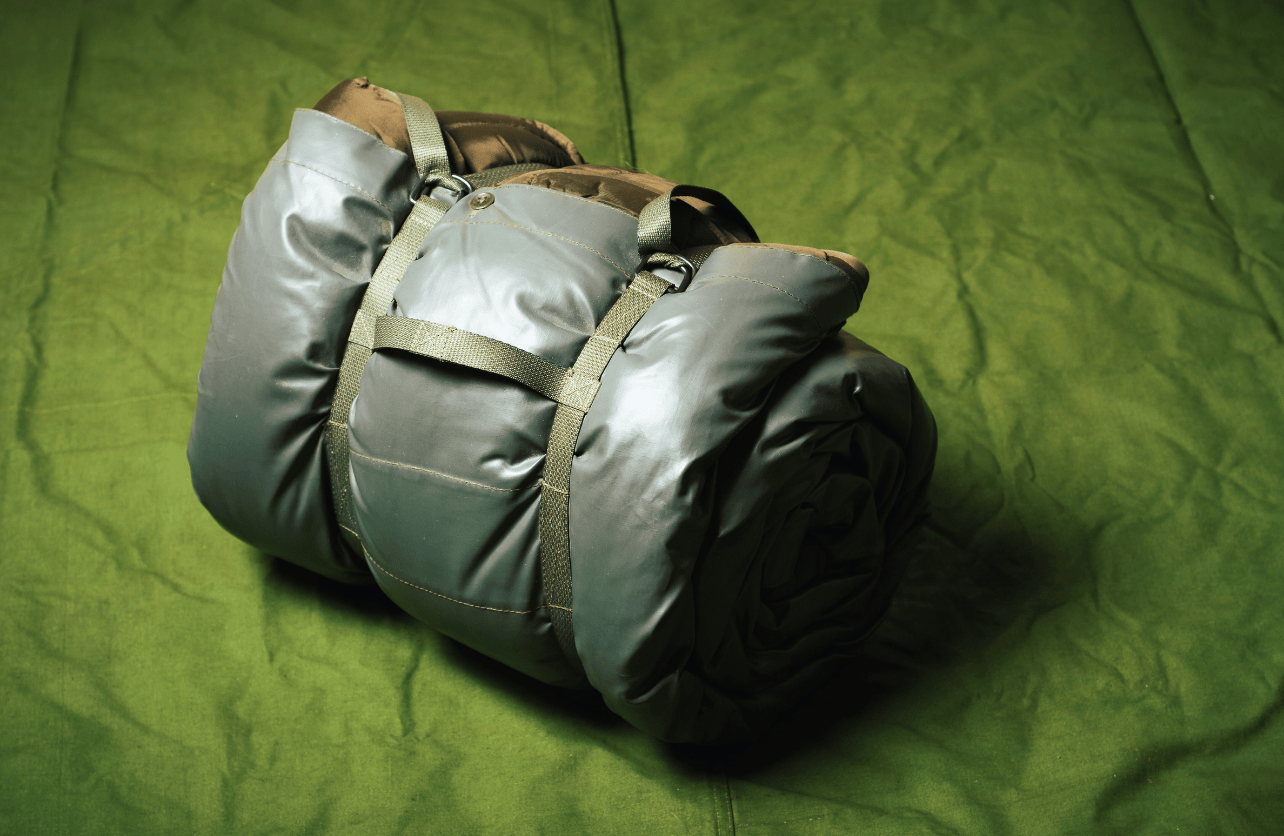
A good night’s sleep in the great outdoors hinges on having reliable gear, and your sleeping bag is a big part of that equation. However, after multiple uses in rugged conditions, rips and tears can occur, compromising its effectiveness. Knowing how to repair a sleeping bag rip is crucial to extend its lifespan and maintain its performance. This comprehensive guide will walk you through the steps to effectively repair a rip in your sleeping bag, ensuring you stay warm and comfortable on your adventures.
Why Repairing Your Sleeping Bag Matters
Before diving into the repair process, it’s important to understand why maintaining your sleeping bag is essential:
- Longevity: Proper repairs can significantly extend the life of your sleeping bag, saving you money in the long run.
- Performance: Even small rips can compromise the insulation and warmth your sleeping bag provides.
- Comfort: A well-maintained sleeping bag ensures a more comfortable and undisturbed sleep during your trips.
- Weight Management: Carrying a repaired sleeping bag means you won’t need to pack an extra one, keeping your gear lightweight.
Assessing the Rip
1. Identify the Type of Rip
Understanding the nature of the rip will help you choose the best repair method. Common types include:
- Small Holes: Often caused by tent stakes, sharp objects, or wear and tear.
- Tears: Resulting from snagging or overuse.
- Large Gaps: Usually due to significant wear, accidents, or repeated stress on a specific area.
2. Determine the Location
The location of the rip can influence the repair approach:
- Seam Area: Rips along seams require careful handling to maintain the integrity of the sewing lines.
- Side or Bottom: These areas might need stronger patches due to increased friction and movement.
- Inside or Outside: Exterior repairs may require more durable materials to withstand the elements, while interior repairs focus more on insulation integrity.
3. Check the Material
Sleeping bags are typically made from either down or synthetic insulation with various outer fabrics like nylon or polyester. The repair method may vary based on the material:
- Down Sleeping Bags: Require airtight repairs to prevent down from escaping.
- Synthetic Sleeping Bags: More forgiving and often easier to repair, as they tend to hold their shape better.
Tools and Materials You’ll Need
Before starting your repair, gather the following items:
- Repair Kit: Many outdoor stores offer sleeping bag repair kits that include patches, adhesive, and instructions.
- Patches: Fabric patches or iron-on patches suitable for your sleeping bag material.
- Sewing Kit: Needles and thread that match the color of your sleeping bag.
- Fabric Glue or Seam Sealer: For added waterproofing and strength.
- Scissors: To trim excess fabric or patch material.
- Pins or Clips: To hold the patch in place while sewing or gluing.
- Marker or Chalk: To outline the area you need to repair.
- Iron (if using iron-on patches): To activate the adhesive on iron-on patches.
Step-by-Step Guide to Repairing a Sleeping Bag Rip
Method 1: Sewing the Rip
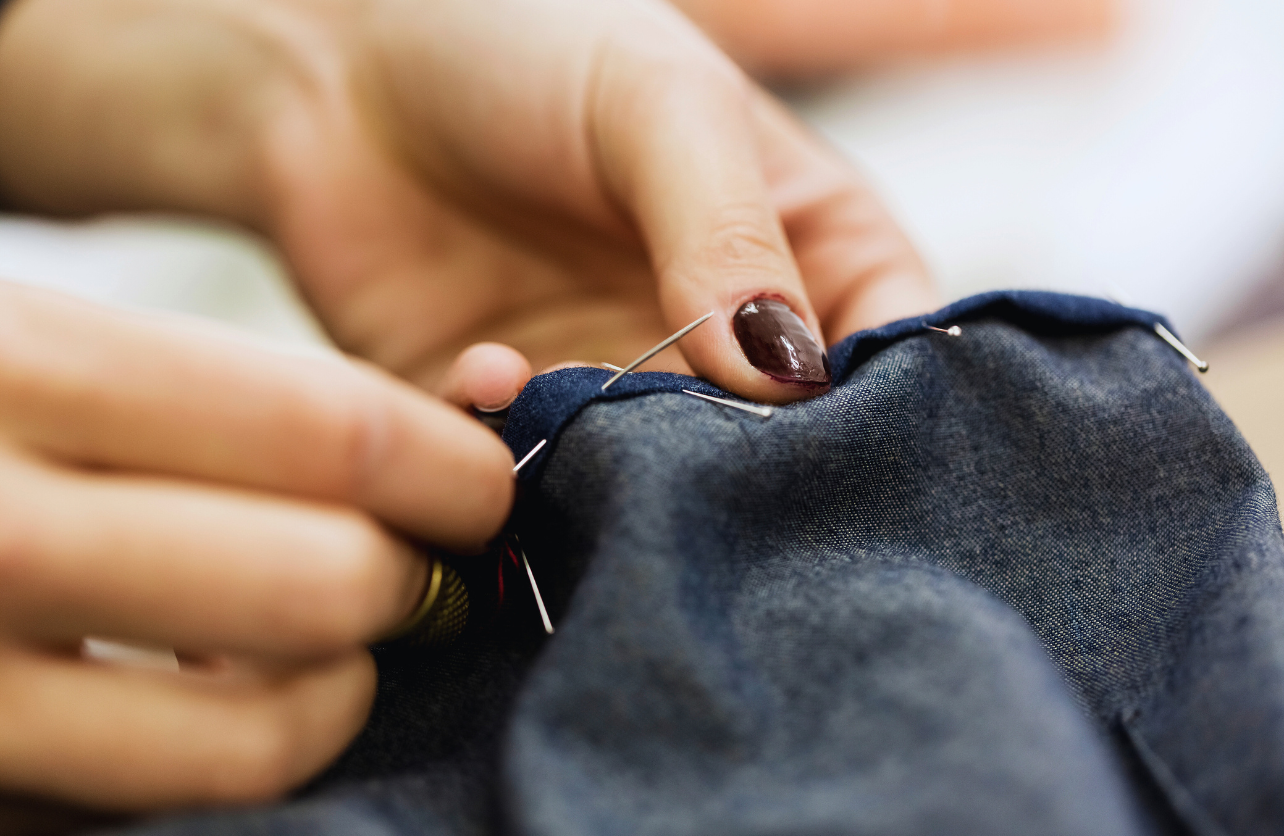
Sewing is ideal for small to medium-sized rips, especially on synthetic sleeping bags.
Step 1: Prepare the Area
- Lay your sleeping bag flat on a clean surface.
- Clean the area around the rip to ensure the patch adheres properly. Use a mild detergent and let it dry completely.
- Use a marker or chalk to outline the rip and the area where the patch will be applied.
Step 2: Choose the Right Patch
- Select a fabric patch that matches the color and material of your sleeping bag.
- For down sleeping bags, choose patches that are airtight and blend seamlessly with the fabric.
Step 3: Attach the Patch
- Place the patch over the rip, ensuring it covers the entire damaged area.
- Secure the patch with pins or clips to prevent it from moving while you sew.
Step 4: Sew the Patch
- Using a needle and thread, sew the patch to the sleeping bag.
- Use small, tight stitches to ensure durability. A zigzag stitch can provide added strength if using a sewing machine.
- For down sleeping bags, ensure that the stitching is airtight to prevent down from escaping.
Step 5: Seal the Seam (Optional)
- Apply fabric glue or seam sealer along the edges of the patch to make the repair waterproof.
- Allow it to dry completely before using the sleeping bag.
Method 2: Using Fabric Glue or Iron-On Patches

For quick fixes or rips in hard-to-reach areas, adhesive methods are effective.
Step 1: Prepare the Area
- Clean and dry the area around the rip.
- Trim any loose threads or frayed edges to create a smooth surface for the patch.
Step 2: Apply Fabric Glue
- Apply a generous amount of fabric glue around the edges of the rip.
- Press the torn edges together and hold them until the glue sets.
- Allow the glue to dry as per the manufacturer’s instructions.
Step 3: Apply an Iron-On Patch
- Cut a patch slightly larger than the rip.
- Place the patch over the rip, ensuring full coverage.
- Follow the patch manufacturer’s instructions, typically involving heating with an iron for a set period.
- Press firmly to ensure the patch adheres properly.
Method 3: Combining Sewing and Adhesive Methods
For larger rips or added durability, combining sewing and adhesive methods offers the best protection.
Step 1: Prepare the Area
- Clean and mark the rip area.
- Select a durable fabric patch that matches your sleeping bag material.
Step 2: Apply Fabric Glue
- Apply glue around the rip edges to create a barrier and provide additional adhesion.
Step 3: Sew the Patch
- Place the patch over the rip and sew it in place using small, tight stitches for maximum strength.
- Ensure that the stitching is even and covers the entire patch area.
Step 4: Seal the Seam
- After sewing, apply seam sealer along the edges of the patch to make the repair waterproof.
- Allow the glue and sealer to dry completely before using the sleeping bag.
Tips for Effective Repairs
- Choose the Right Patch Material: Use patches made from similar or compatible materials to ensure a seamless repair.
- Work in a Clean Environment: Dirt and debris can interfere with the adhesion of patches and glue. Clean the area thoroughly before starting.
- Use Quality Adhesives: High-quality fabric glue or seam sealers provide better durability and waterproofing.
- Press and Let Dry: If using iron-on patches, ensure you apply even pressure and allow ample time for the adhesive to set.
- Test Before Use: After repairing, gently tug on the area to ensure the patch is securely attached and won’t come loose during use.
Preventing Future Rips
While repairing existing rips is essential, taking steps to prevent future damage can save you time and effort:
- Proper Storage: Store your sleeping bag in a dry, cool place to prevent mold and material degradation.
- Avoid Sharp Objects: Be mindful of where you place your sleeping bag to avoid snagging on branches, rocks, or other sharp objects.
- Use a Storage Bag: When not in use, keep your sleeping bag in a storage sack to protect it from dust and potential damage.
- Handle with Care: When unpacking or repacking, handle your sleeping bag gently to avoid stretching or tearing the fabric.
When to Seek Professional Help
Professional repair services might be necessary for severe rips or damage that compromises the sleeping bag’s insulation and waterproofing. These services ensure that the sleeping bag’s integrity is maintained, especially for high-end or specialized models.
Your Adventure, Our Experience
At TheCampingList, our dedication to authenticity and reliability stems from our own adventures in the great outdoors. Our team, comprised of seasoned experts in hiking, camping, climbing, cycling, fishing, and hunting, rigorously tests every product and shares insights drawn from real experiences. This hands-on approach ensures our reviews and guides meet the highest standards of durability, functionality, and comfort. Moreover, our platform thrives on the rich contributions and feedback from our vibrant community of enthusiasts. We pride ourselves on delivering unbiased, educational content that empowers and informs your outdoor pursuits. Trust in TheCampingList for genuine advice and support, where we're all about enriching your journey, every step of the way.